Powered by Blogger.
RSS

Scratch Built RC Car

Step #1: Open electric drill

Scratch-Built RC CarScratch-Built RC CarScratch-Built RC CarScratch-Built RC Car
  • Remove battery pack from drill.
  • Remove screws as shown.

Step #2: Remove drill motor and speed control

Scratch-Built RC CarScratch-Built RC CarScratch-Built RC CarScratch-Built RC Car
  • Split electric drill in half.
  • Remove electric drill motor and throttle switch assembly.
  • Remove drill motor from casing and throttle switch from throttle body as shown.

Step #3: Build chassis

Scratch-Built RC CarScratch-Built RC CarScratch-Built RC CarScratch-Built RC Car
  • We recommend that you arrange the PVC connectors on the table to determine your chassis profile. Here was our initial step.
  • We cut pieces of PVC tubing to create the chassis frame.
  • Here is the final chassis design.

Step #4: Create suspension system

Scratch-Built RC CarScratch-Built RC CarScratch-Built RC CarScratch-Built RC Car
  • Mount upper and lower swing arms to RC wheel mount as shown. Ensure movement of swing arms.
  • Test wheel on suspension arms for clearance between chassis frame and ground.
  • Use medical syringe with cap to create strut.

Step #5:

Scratch-Built RC CarScratch-Built RC CarScratch-Built RC CarScratch-Built RC Car
  • Mount handle of syringe to chassis frame as shown.
  • Create recessed notch for syringe cap to interface with lower swing arm as shown.
  • Repeat for all four wheel positions.

Step #6: Throttle system

Scratch-Built RC CarScratch-Built RC CarScratch-Built RC Car
  • Modify throttle switch by removing inner throttle button spring and replacing with lighter-duty outer spring as shown. Use a washer and pin to keep outer spring in place.
  • Next, drill a hole through the throttle button, through the throttle assembly and fish through fishing line as shown.
  • Tie ends of fishing line to servo arms as shown.

Step #7: Drive system

Scratch-Built RC CarScratch-Built RC CarScratch-Built RC CarScratch-Built RC Car
  • Use RC axles to connect rear wheels together. Route the axles through a piece of PVC tubing with a hole to feed the vacuum belt through as shown. Secure PVC tubing to chassis.
  • Mount electric drill motor to chassis as shown. Create a wooden drum with a shoulder to ensure that the vacuum belt stays in place.

Step #8: Steering system

Scratch-Built RC CarScratch-Built RC CarScratch-Built RC Car
  • Mount servo to chassis as shown. Create and mount steering servo connector piece as shown. Connect steering arms to the connector piece as shown.

Step #9: Radio-control system

Scratch-Built RC CarScratch-Built RC CarScratch-Built RC CarScratch-Built RC Car
  • Mount receiver to chassis.
  • Mount battery pack for receiver to chassis.
  • Connect steering and throttle servo wires to receiver.

Step #10:

Scratch-Built RC Car
Scratch-Built RC CarScratch-Built RC Car
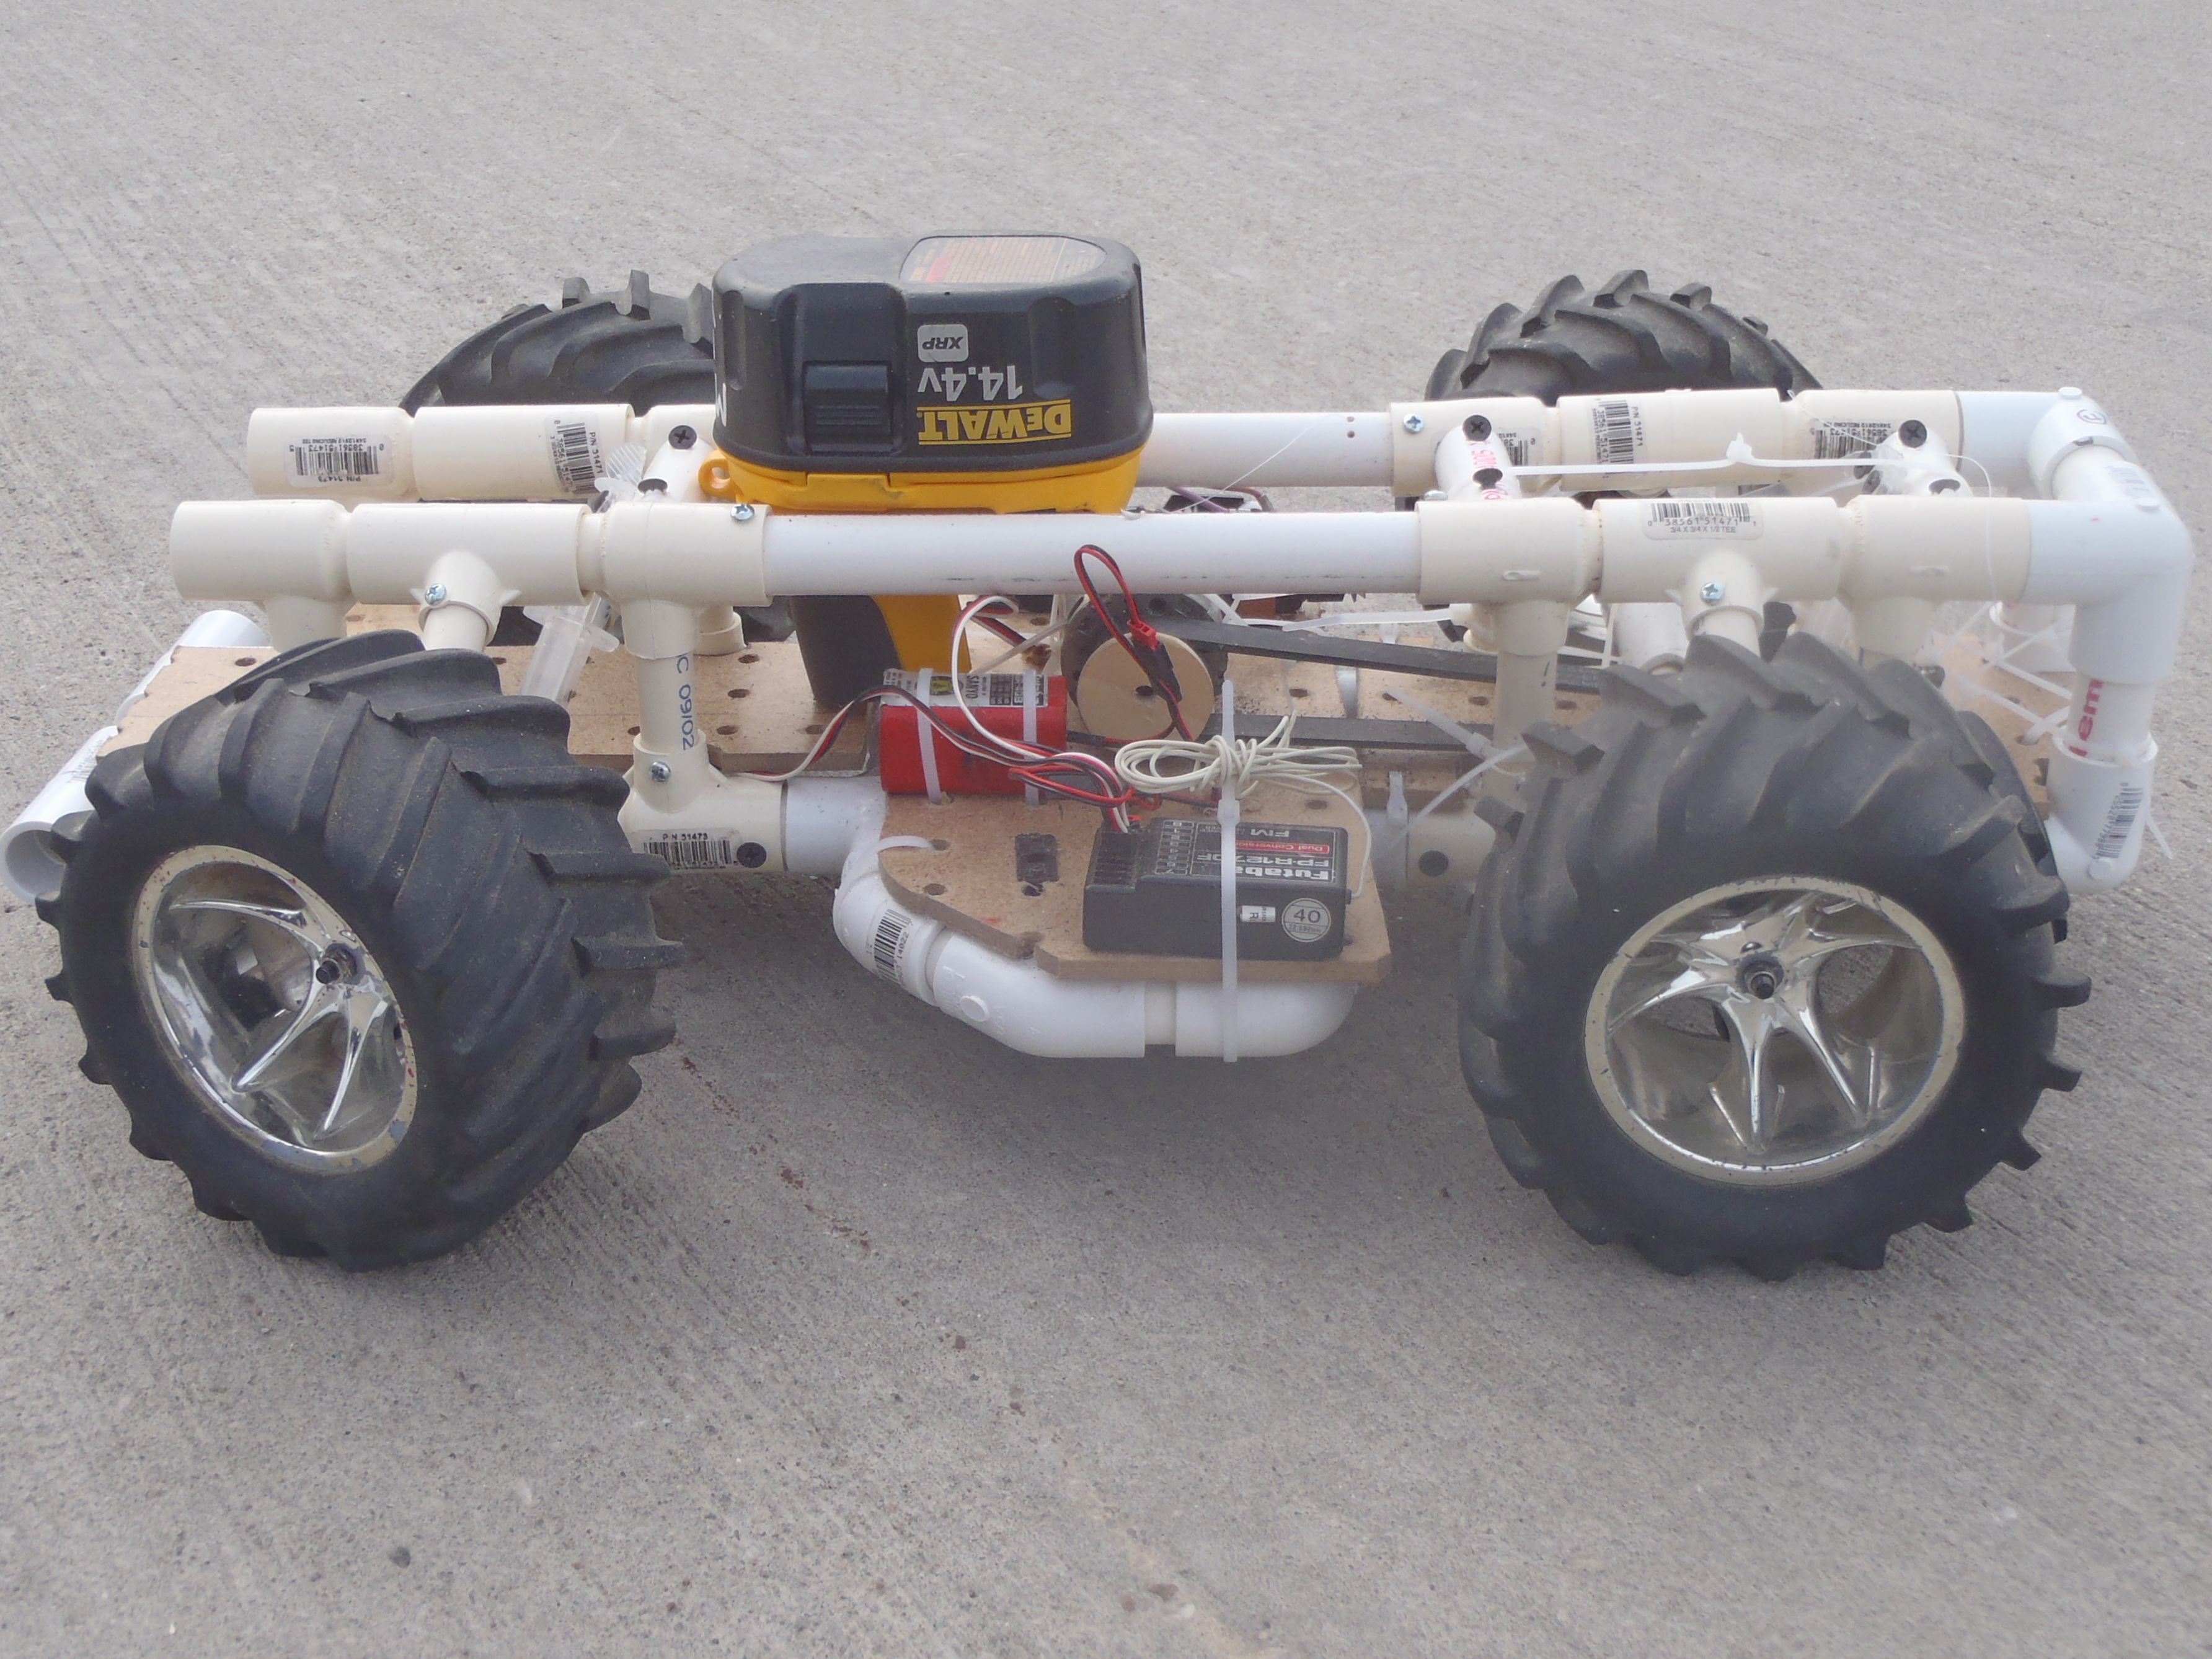
  • Finished product!

  • Digg
  • Del.icio.us
  • StumbleUpon
  • Reddit
  • RSS